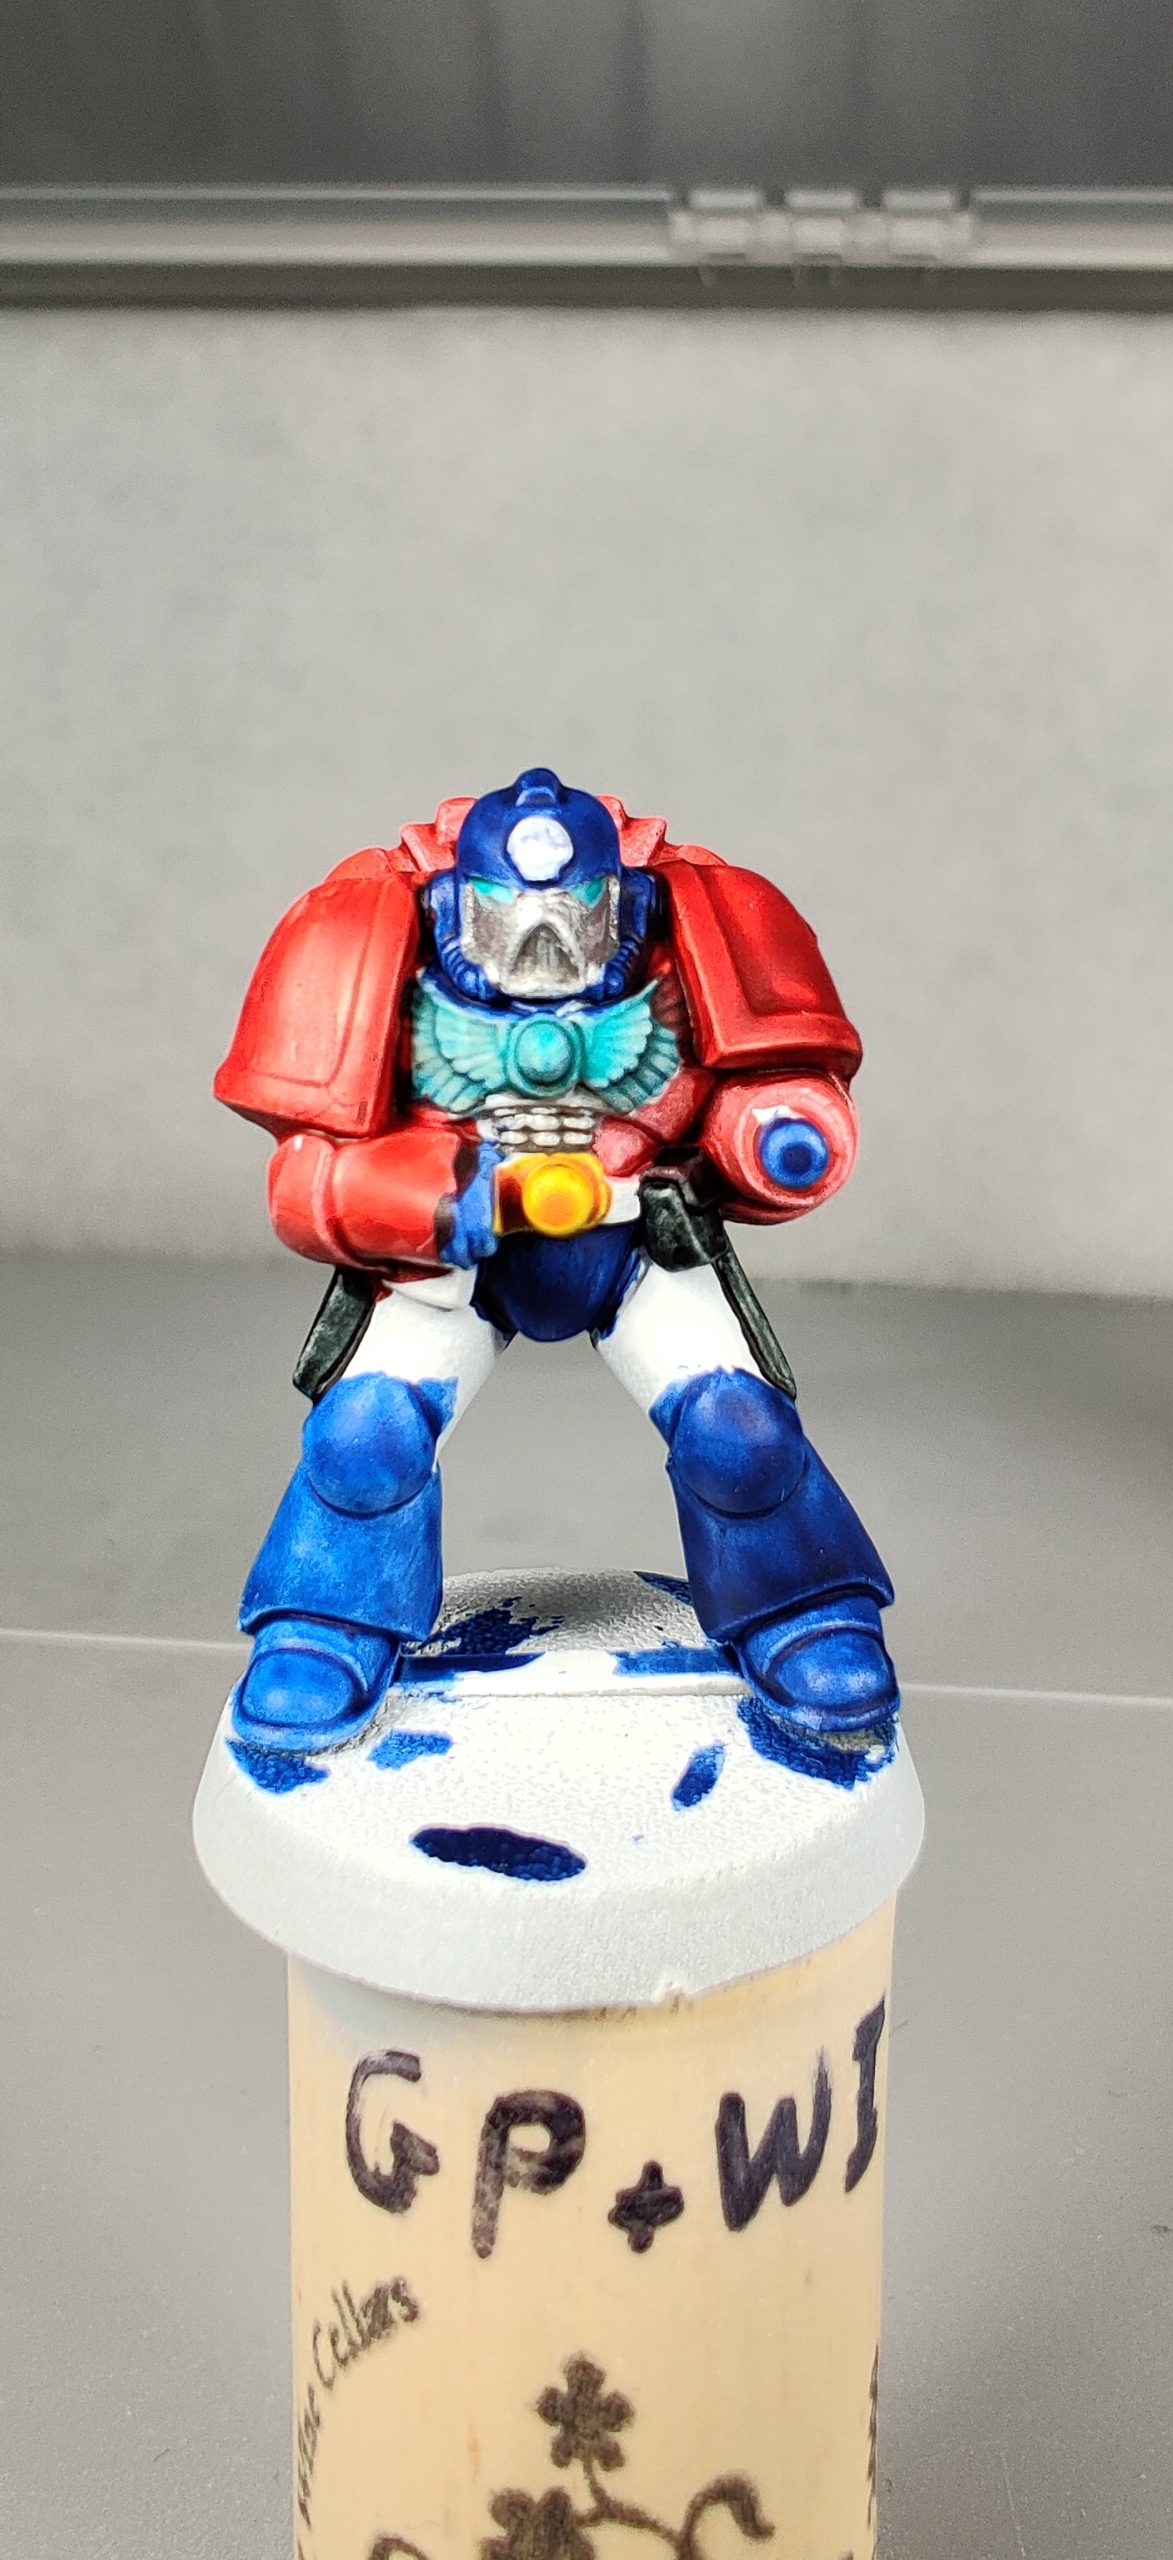
Nothing much exciting to report–some work piled up, so I needed to spend a lot less time on hobby projects this week. No video of a completely magnetized Primaris Infiltrator / Incursor just yet. Soon.
I managed to clean up sprue lines from a couple pieces and magnetize a couple more. Didn’t quite like the results on magnetizing the pouches for the Primaris Infiltrator because the top of the pouch was not sitting anywhere near flush with the dude’s upper thigh, and I ended up with two magnets in his thigh and two in the pouch.

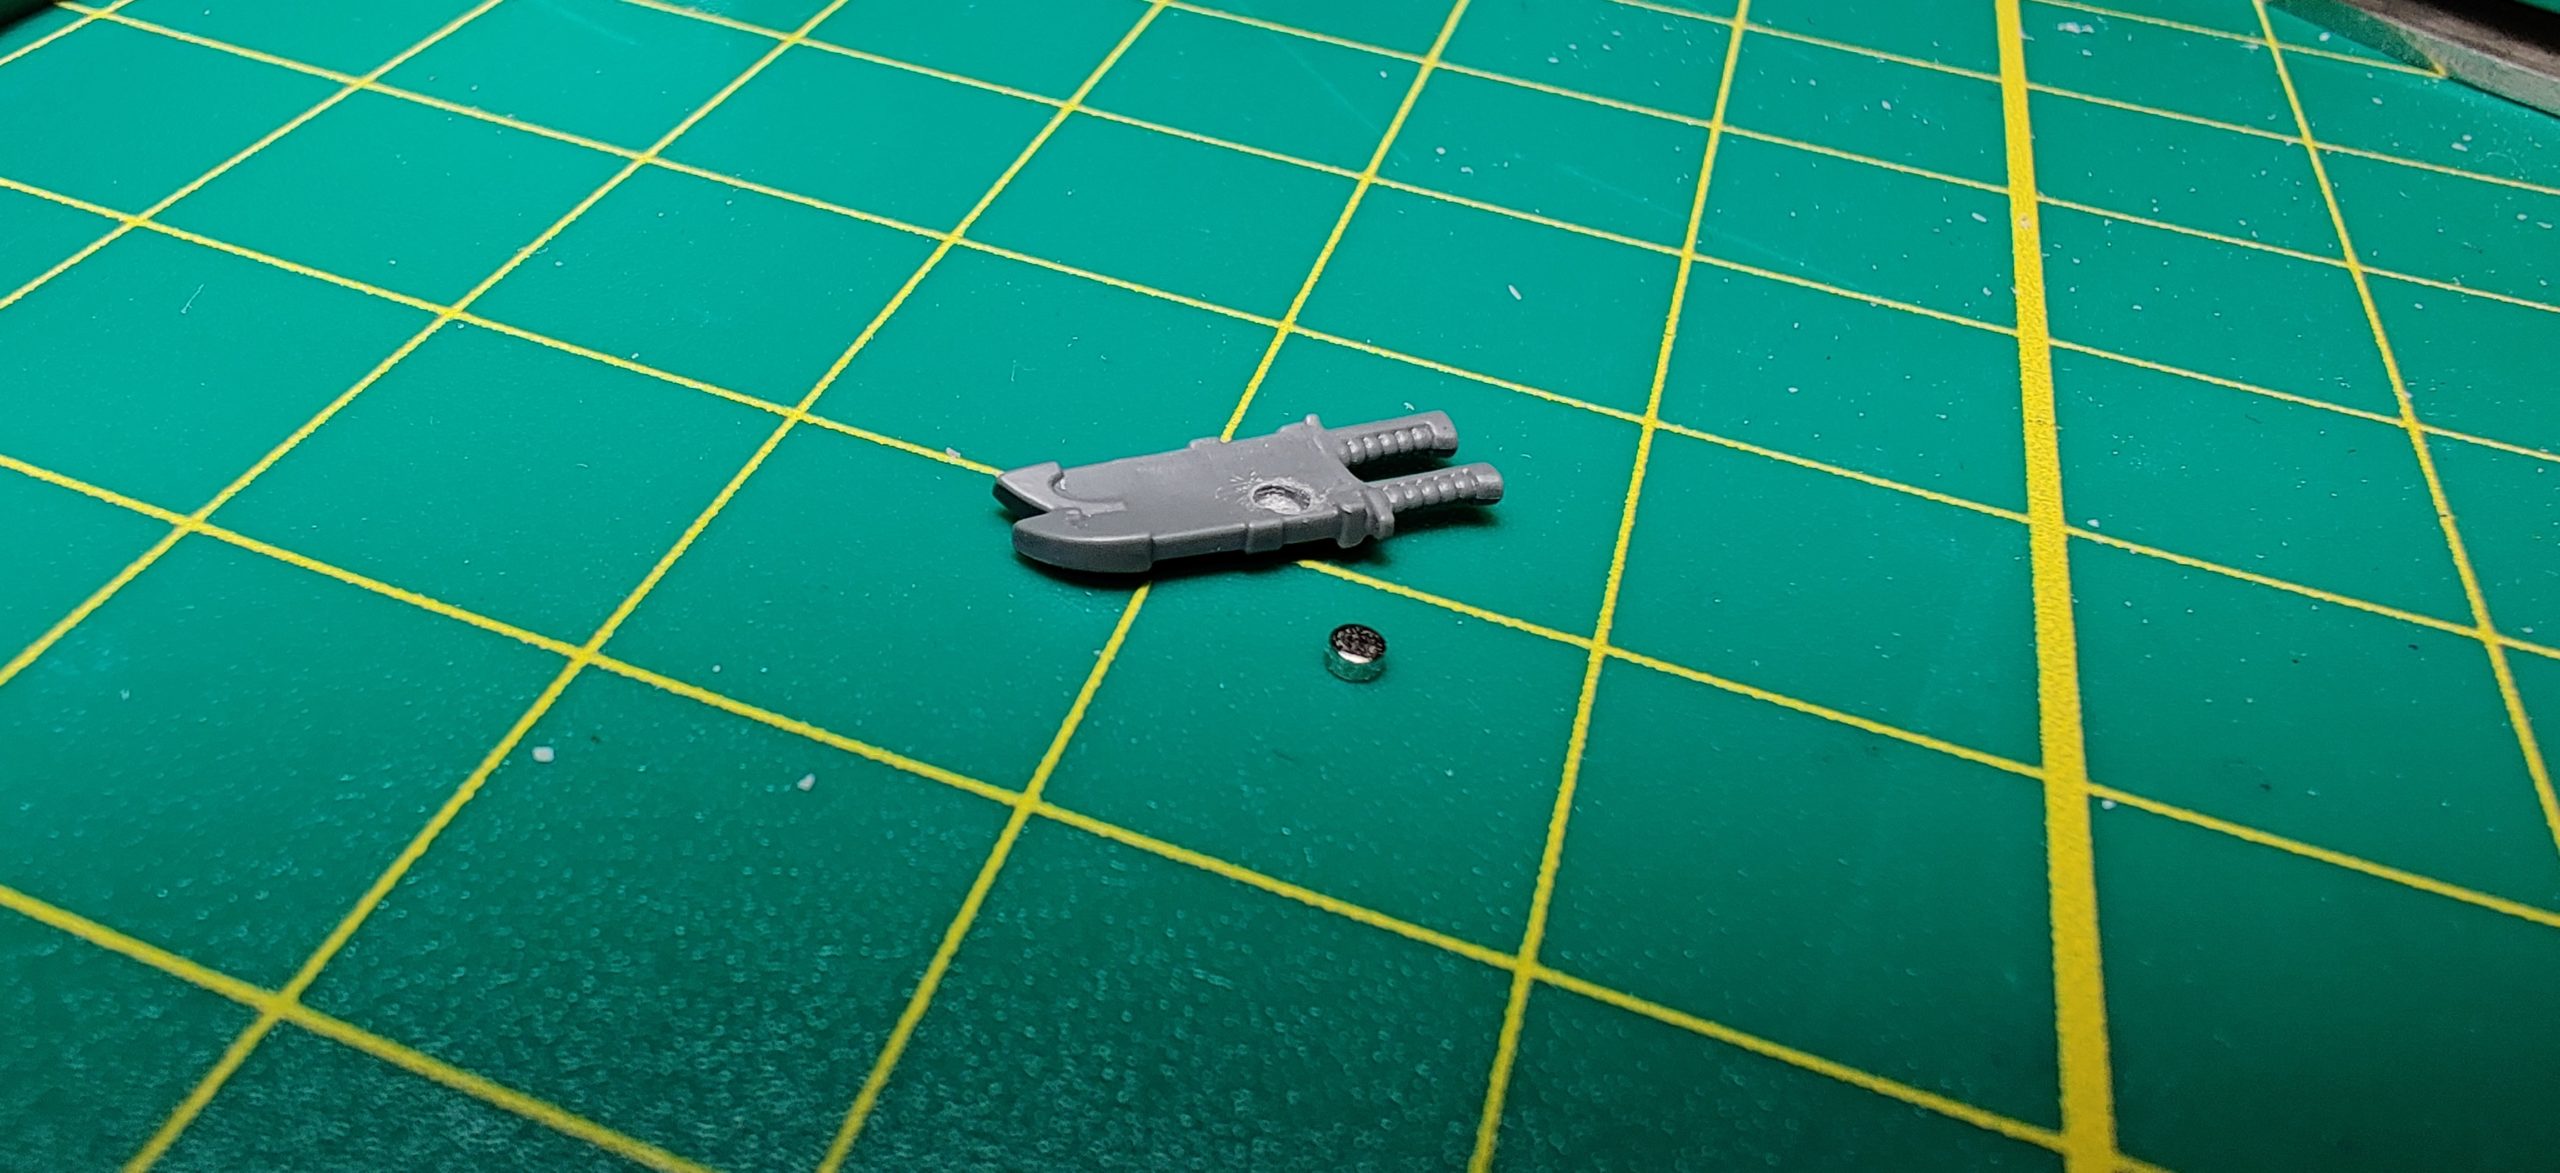
Primaris Infiltrator with thigh magnets and magnetized ammo pouches. At least there’s only one magnet in the Incursor knives.
Blah.

I think the pouches look OK attached to to leg. They seem to lie naturally.
On the next one, I’m going to try two magnets in the thigh (upper one for the pouch, and lower one for the knives), but only the upper one in the pouch. See how that goes.
Other than that, I did some stripping for the first time.
Stripping paint. From models. What were you thinking?
I have a ton of miniatures from playing D&D as a teen. While I have an emotional attachment to all of them to some degree, I need to be realistic about the fact that they’ve mostly all been in storage at my parents’ place for more than a decade. If I ever get back into D&D like I keep saying I am, I’d likely not use as many miniatures. Sorry, but do I have the space and money to keep a miniature that will be used once in a campaign for one random encounter? Not really. It’s time to liquidate some assets, and I’m more likely to sell these guys if they aren’t caked in twenty-five-year-old paint.
Now, if you go online and search “how to strip miniatures,” you’re going to find lots of very passionate people who are passionate about their method of choice. After watching a number of videos on YouTube, this one sealed it for me:
So, I stopped at the dollar store last week and picked up a 32-oz bottle of LA’s Totally Awesome for, yup, a dollar. I then tossed a bunch of plastic and metal minis in a plastic bottle and poured enough of the stuff into it to cover all of the miniatures.

Bottle of LA’s Totally Awesome and an empty plastic bottle for stripping paint from miniatures.
It sat on the shelf for three days or so before I opened it. The clear liquid had gone super cloudy.
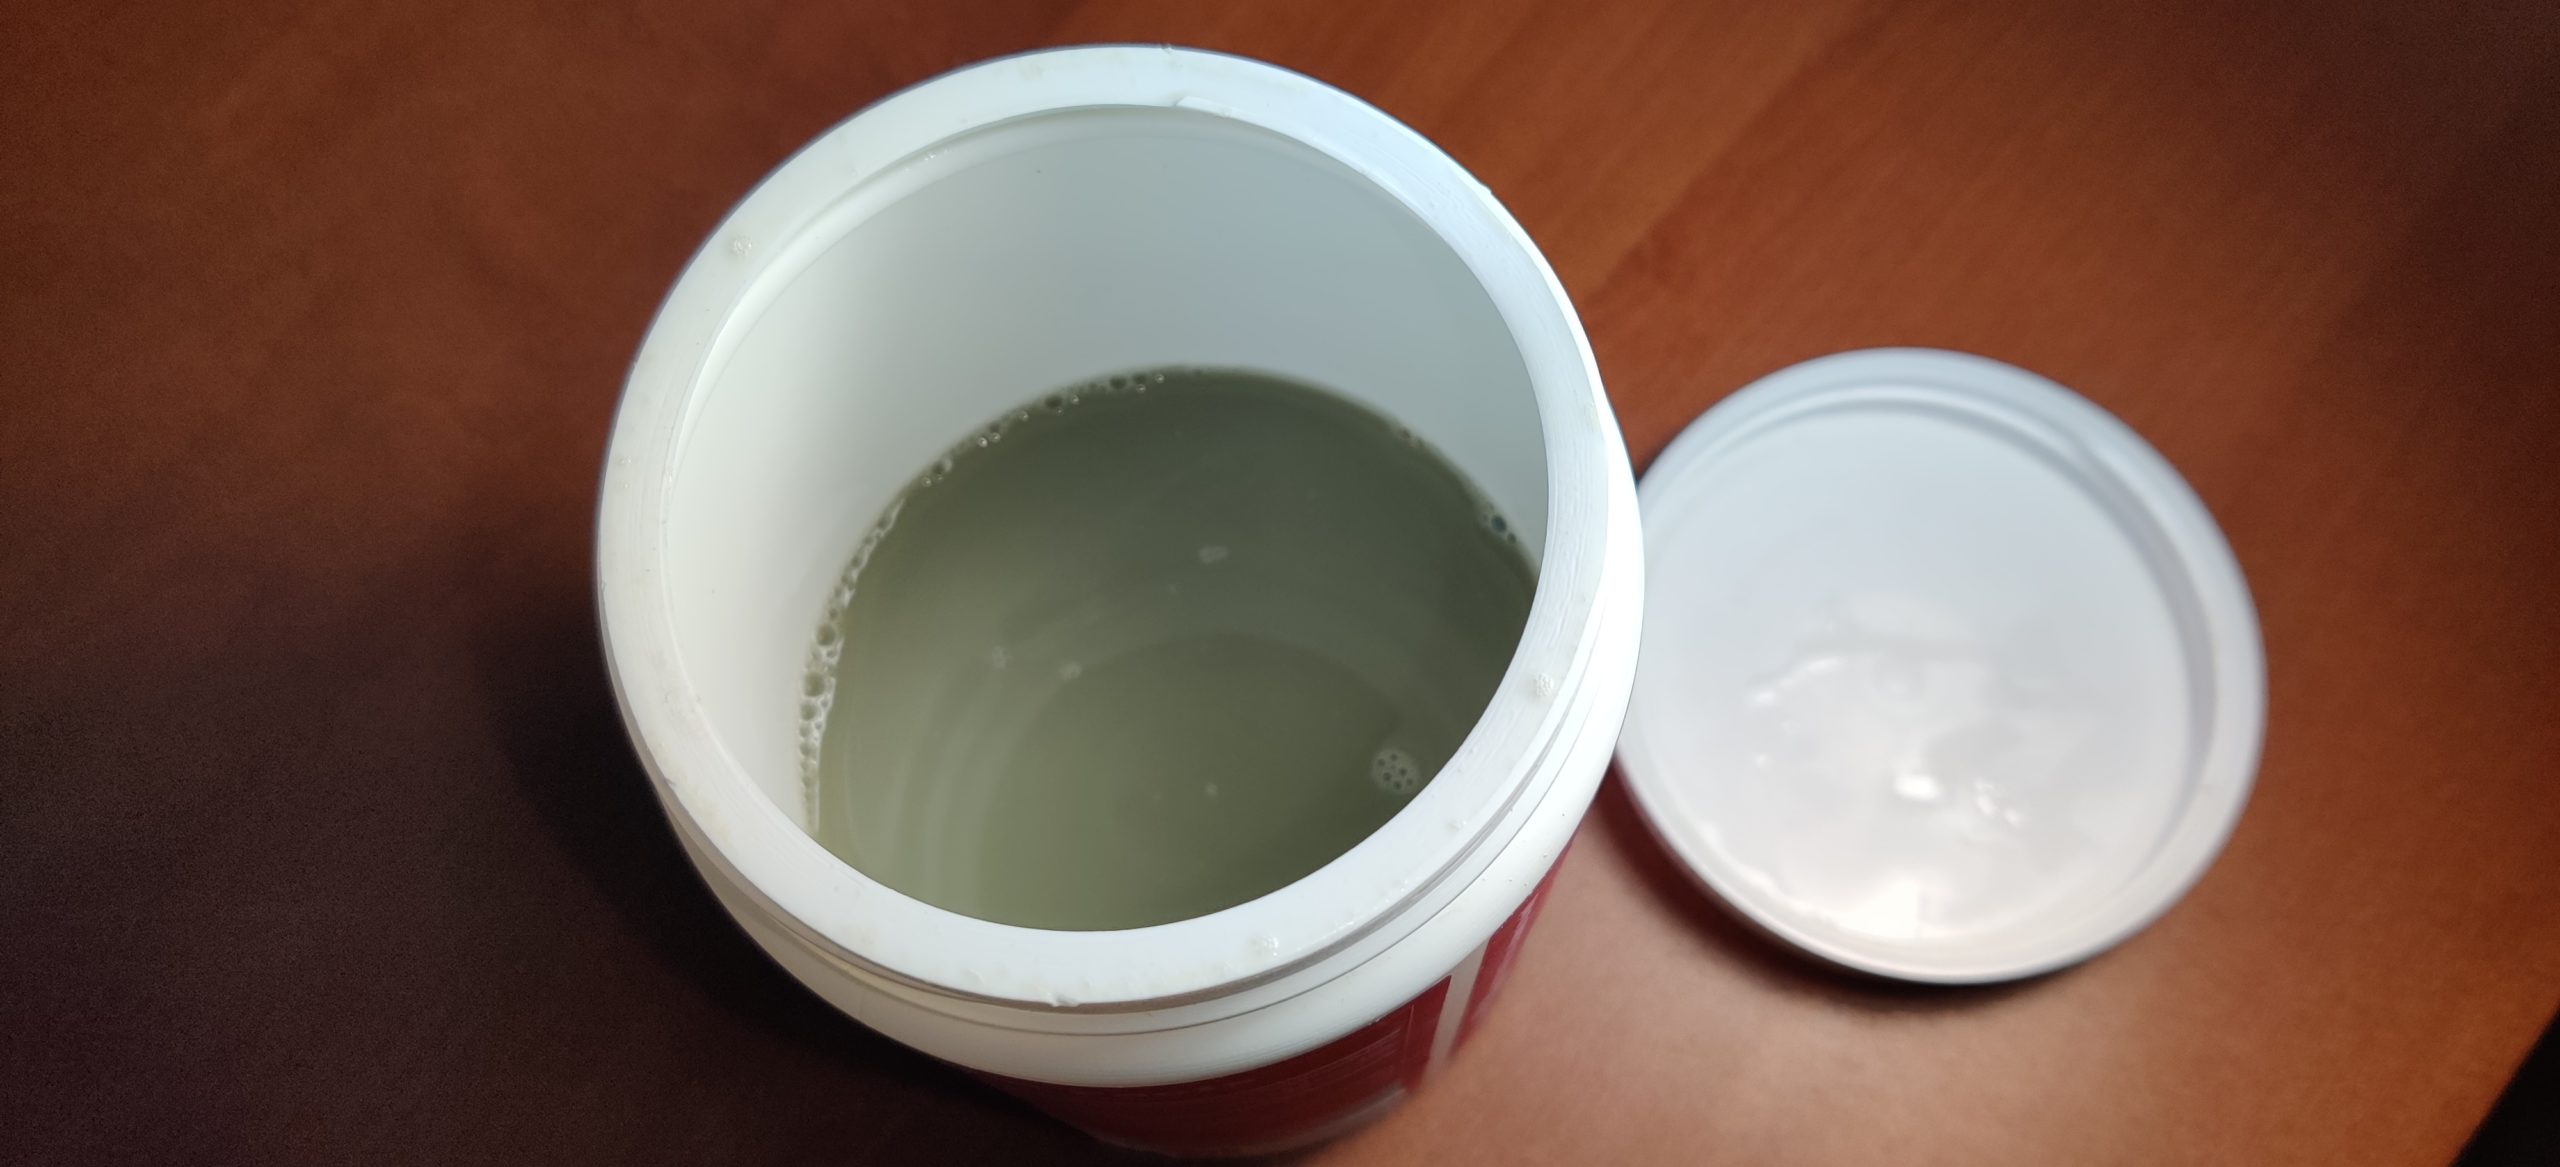
LA’s Totally Awesome in a plastic bottle after soaking painted miniatures in it for a number of days.
I used tweezers to fish some models and bits from the murky depths. Some paint had dissolved (obviously, from the look of the liquid), with a couple metal miniatures completely devoid of paint. Most required scrubbing with an old paint brush and an old toothbrush.
I hadn’t thought to take pictures before starting the process, which I now regret–but some of the miniatures still had enough paint on them before scrubbing to provide an idea of what they looked like before the stripping process began.
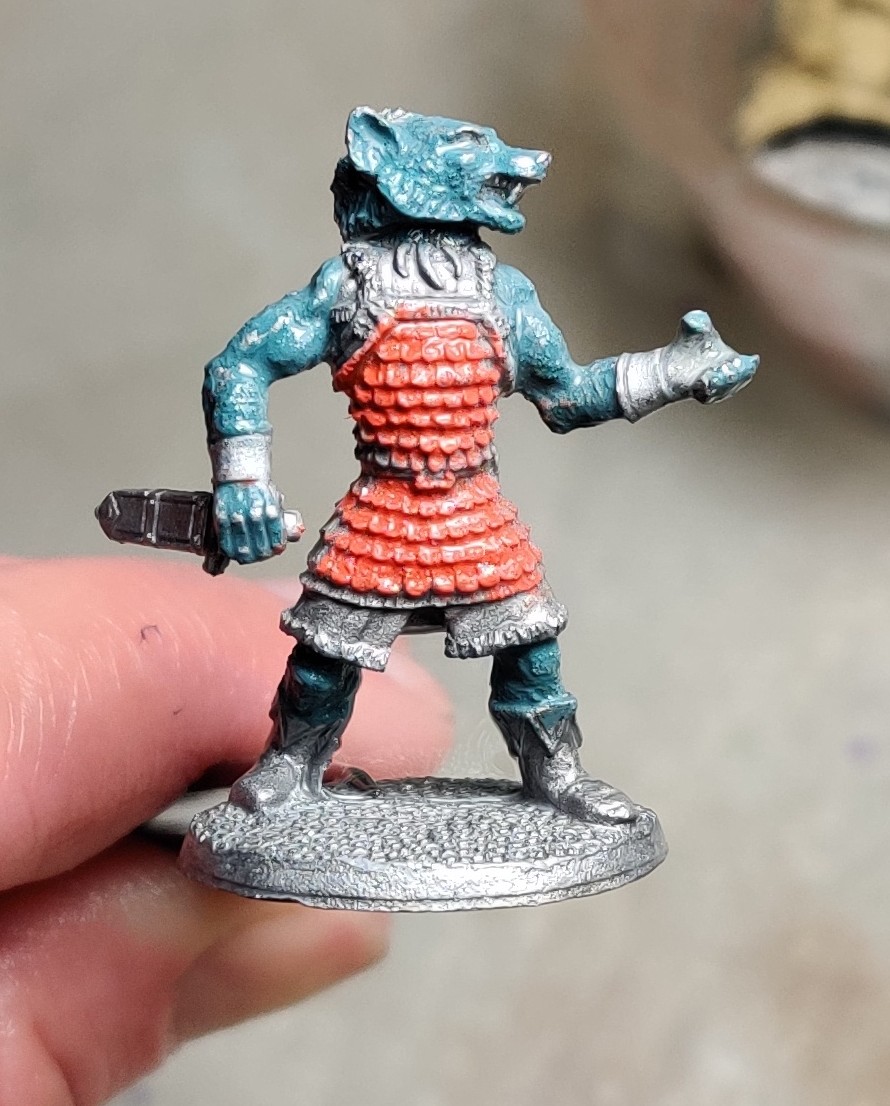
Ral Partha gnoll raider about to be scrubbed of paint.
Ral Partha gnoll raider after scrubbing: the head and weapon were separate pieces that had been glued on with CA glue. I’m not sure if LA’s TA normally dissolves the stuff or not. This one needed to go back into the dunk tank after the first scrubbing.
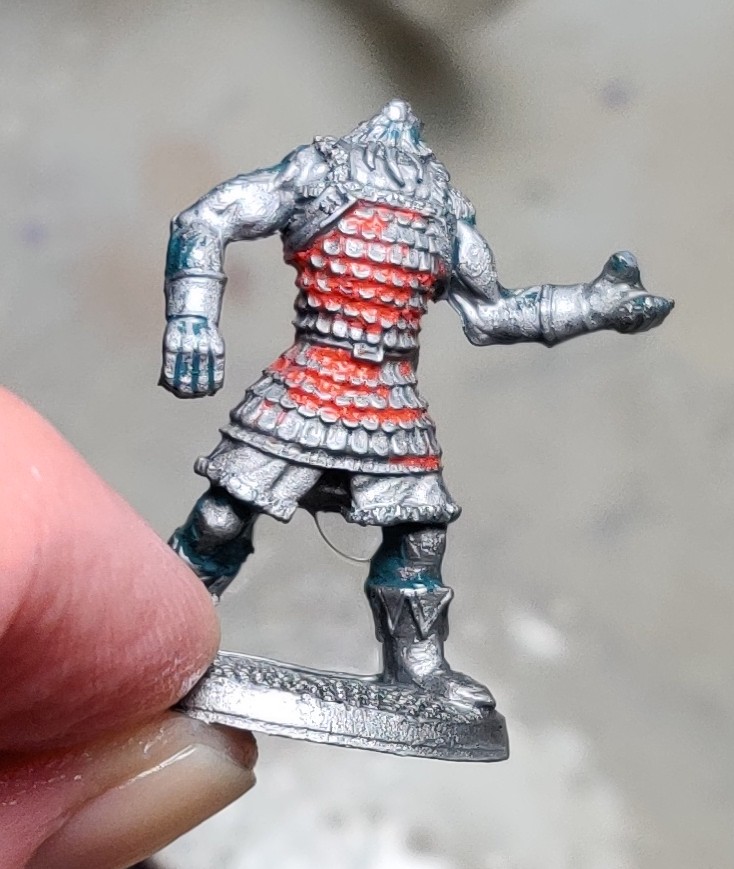
Ral Partha ogre about to be scrubbed of paint.

This guy came clean really easy.
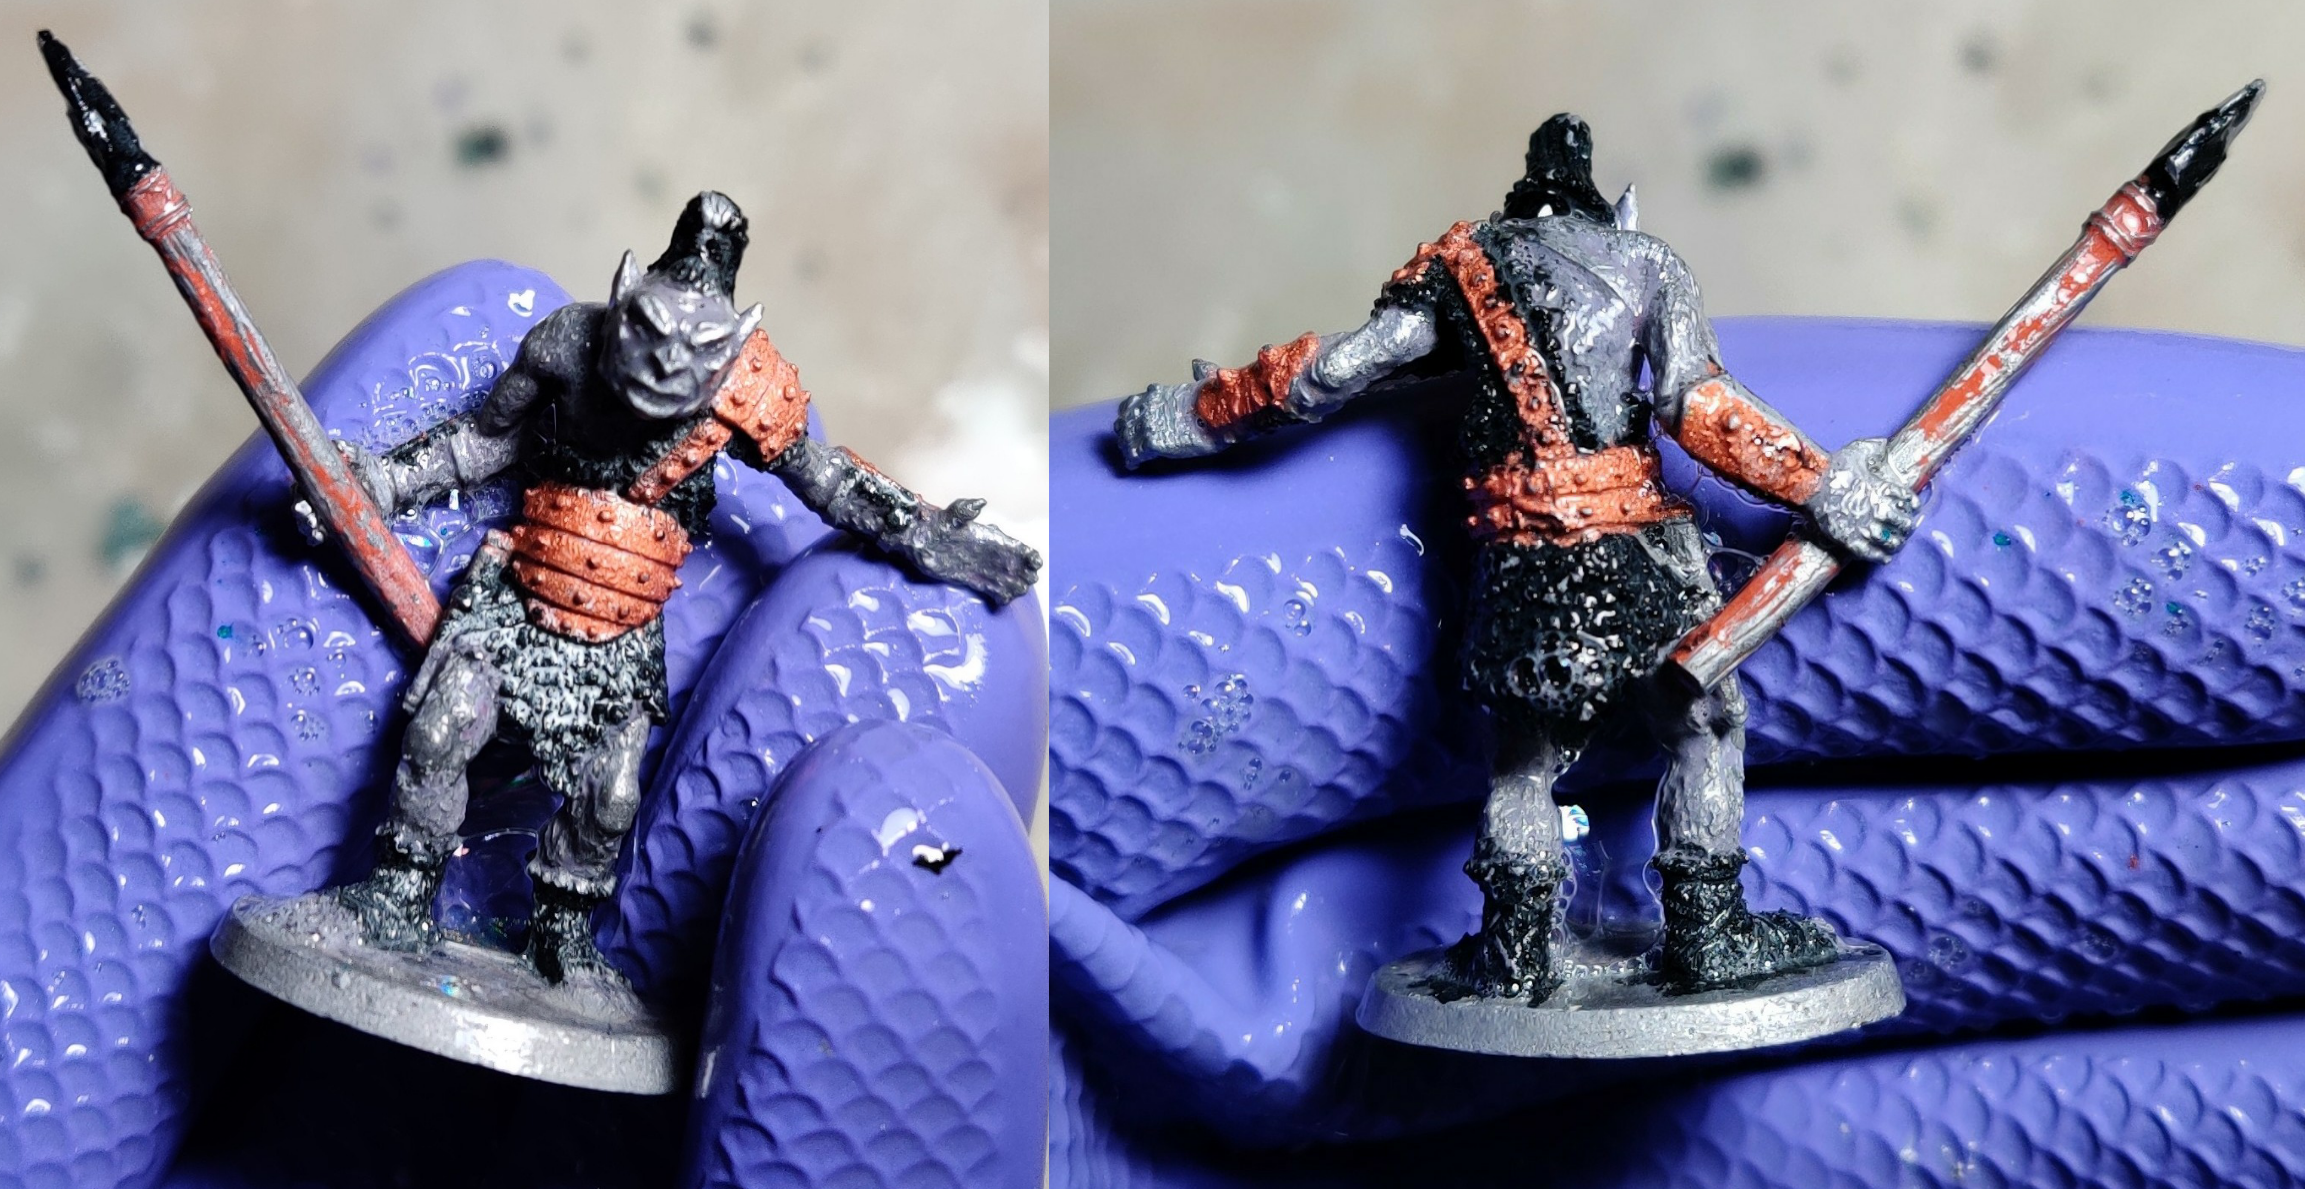
Another Ral Partha ogre about to be scrubbed of paint. I also finally put on a glove–not that I’d been dunking my hand in the chemical bath, but still . . .

This one came mostly clean. He did go back into the bath to soak the last bit of paint.
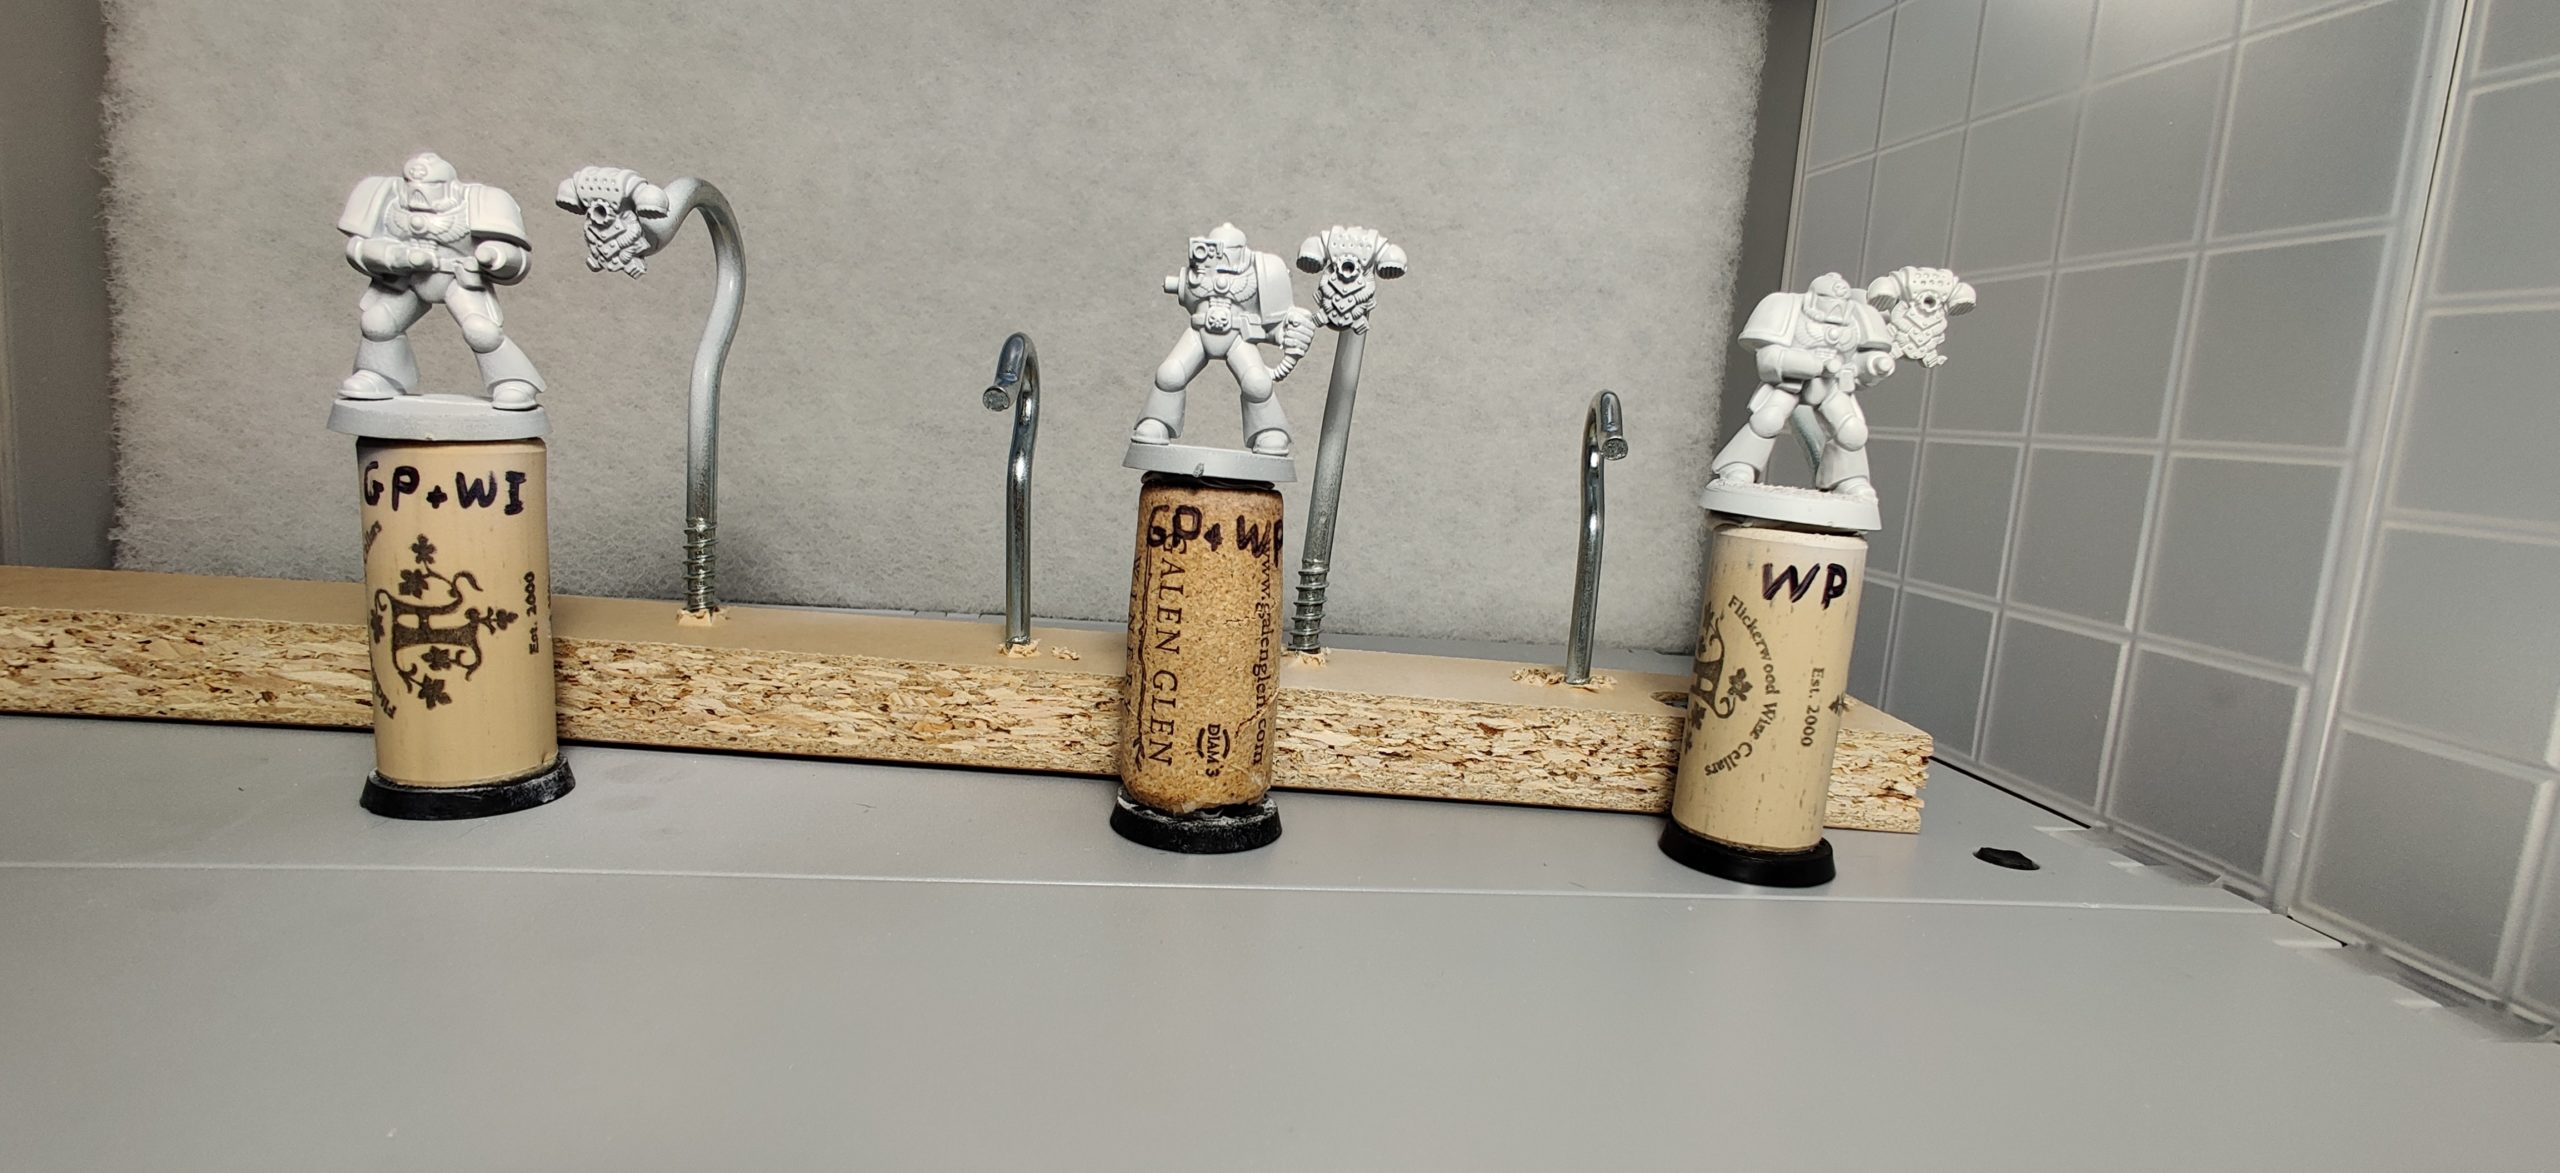
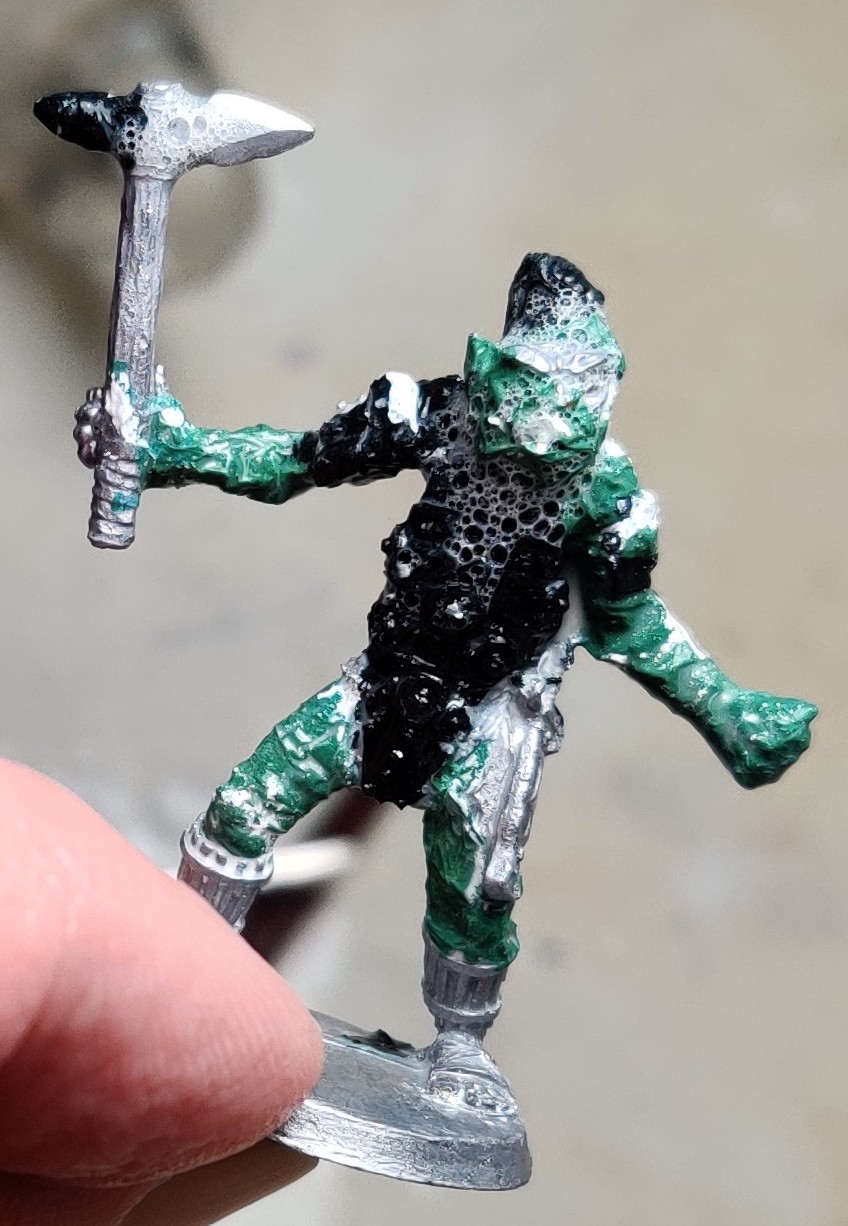
Of course, here are the color-test models from last week:
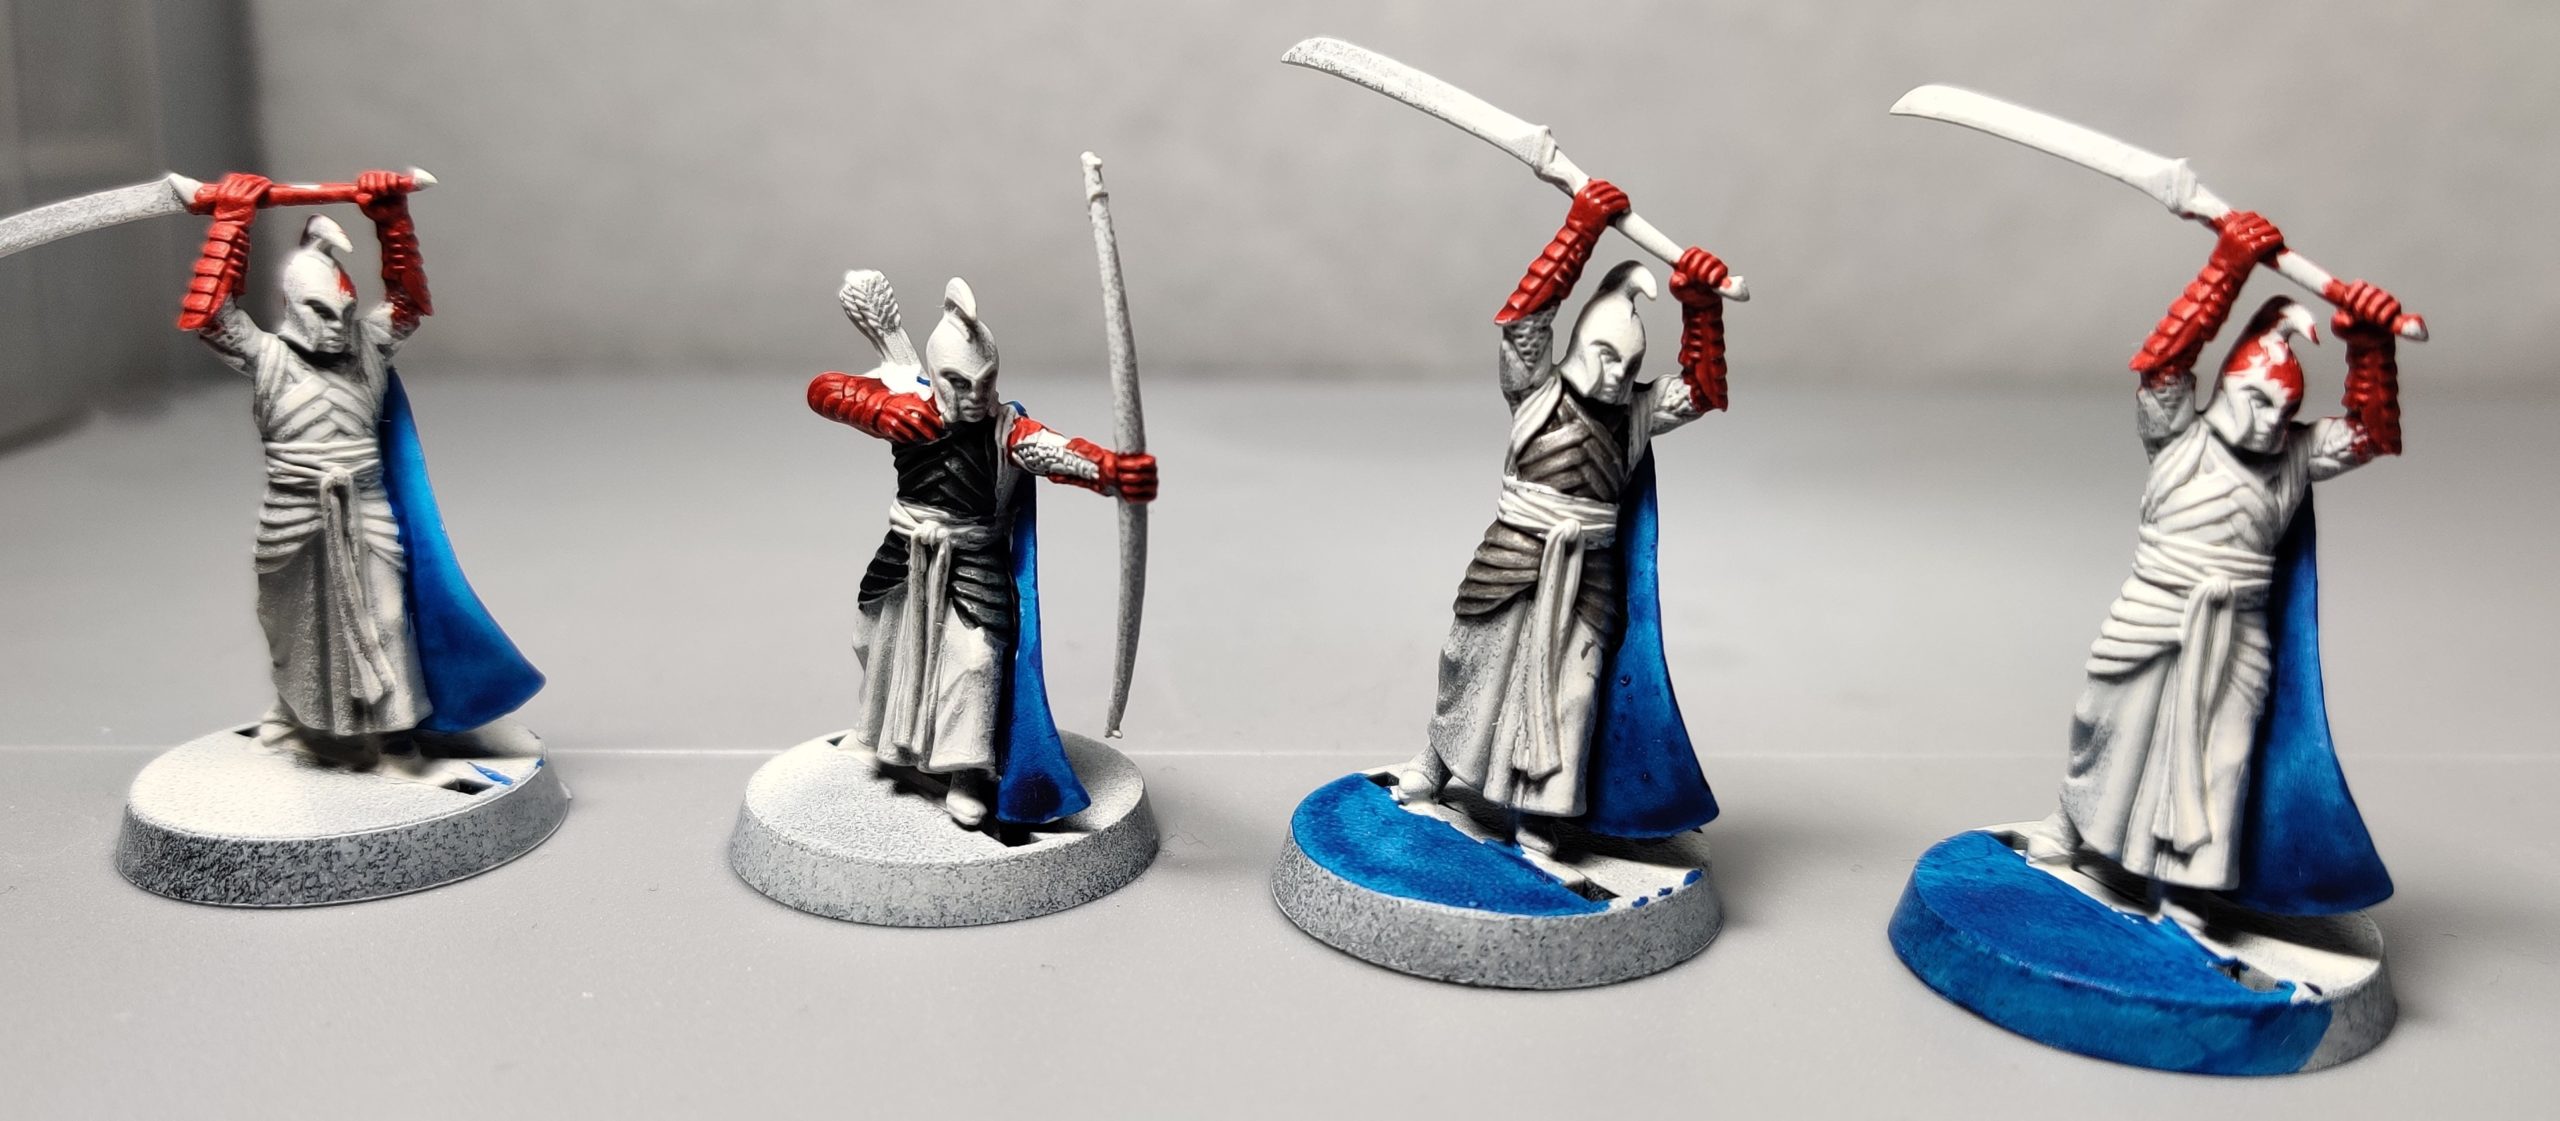
Red, white, and blue LOTR high elves from the front.
And the results:

LotR High Elves color-test models after being stripped of paint. These were the least successful models, with some white paint residue (I don’t think I used true primer on these guys twenty years ago) and a bit of metallic around the armor. I put them back into the LA’s TA this morning and will give them another little scrub at some point in the next couple days.
Here are all the models and bits that I stripped this week:

My first batch of stripped miniatures. From D&D minis to Rogue Trader-era 40K Space Marines . . . Overall, I’m impressed with the results.
That’s for about $0.50 in cleaning fluid . . . which I don’t plan to dump. After I gather up another batch of minis to clean, they are going right into this soup to soak. There’s my Depression-era grandmother’s sensibilities affecting me again.
Hoping to have more magnetization and assembly done by next week! Then I’m likely going back to experimenting with some painting techniques on the 2nd-Edition Marines. I wanted to have a Kill Team roster done by now, but I want things done to a certain standard, and I have to give myself time to knock off the rust and try out new techniques.